How to Create and Use a Digital Signature in Foxit
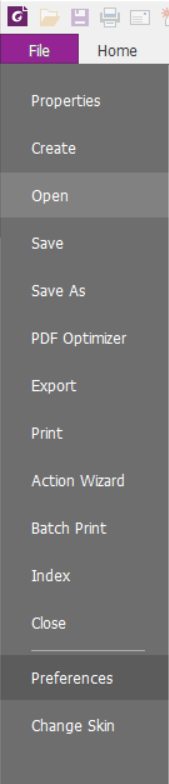
Open Foxit , navigate to File and then Preferences as shown below.
Within Preferences, select Signatures.
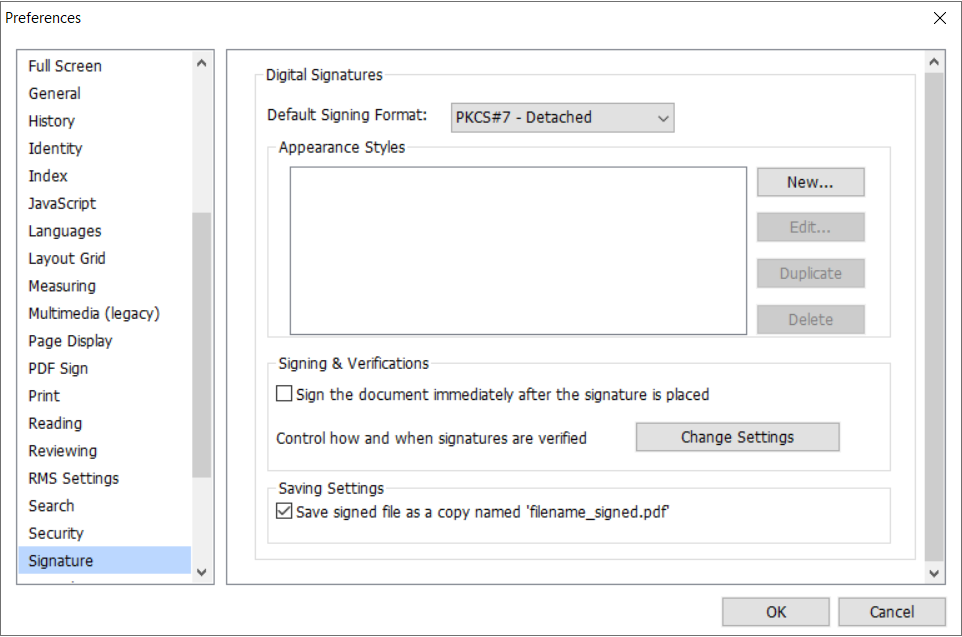
Click New...
Input a name for the Title:
Select the Name radio button.
In Configure Text, check the following items and uncheck all others: Name, Distinguished Name, Logo, Date, Reason, Labels.
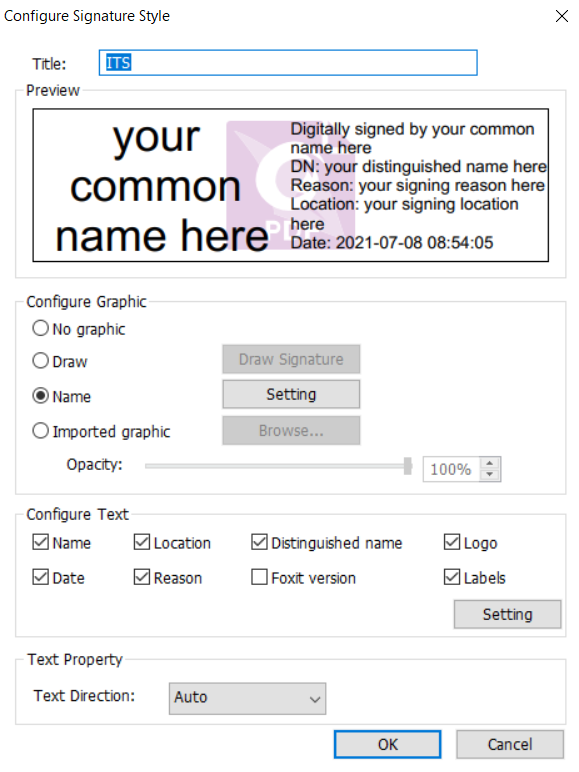
Click OK.
Open a PDF document (you may create a blank one if needed).
Click the Protect tab on the ribbon.
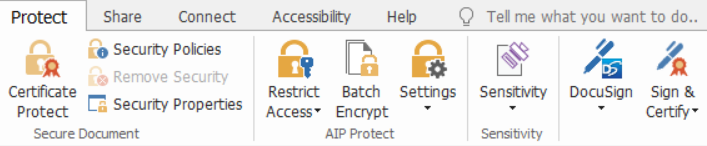
Click Sign & Certify
Click Place Signature
Within the document, click and hold then drag (you will see a rectangular shape appear).
Release click.
A new window will appear click Sign As: and select New ID...
You will be prompted with questions, answer as follows:
A new digital ID I want to create now click Next
New PKCS#12 digital ID file click Next.
You will be prompt with a form, fill out the following areas:
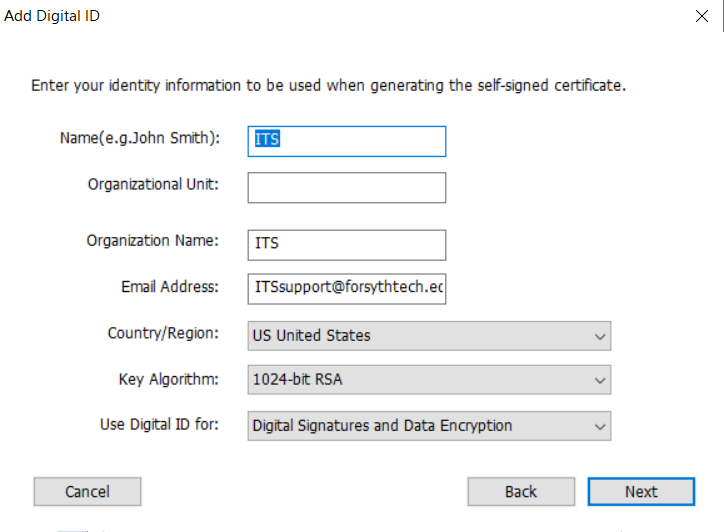
Click Next.
Accept the name that is prefilled in the File Name: box and create at least a 6 character password.

Click Finish.
How to use your Foxit Digital Signature:
Click the Protect tab on the ribbon.

Click Sign & Certify
Click Place Signature
Within the document, click and hold then drag (you will see a rectangular shape appear).
Release click.
A new window will appear click Sign As: and select the title you chose for your signature.
In the Password box, enter your Password.
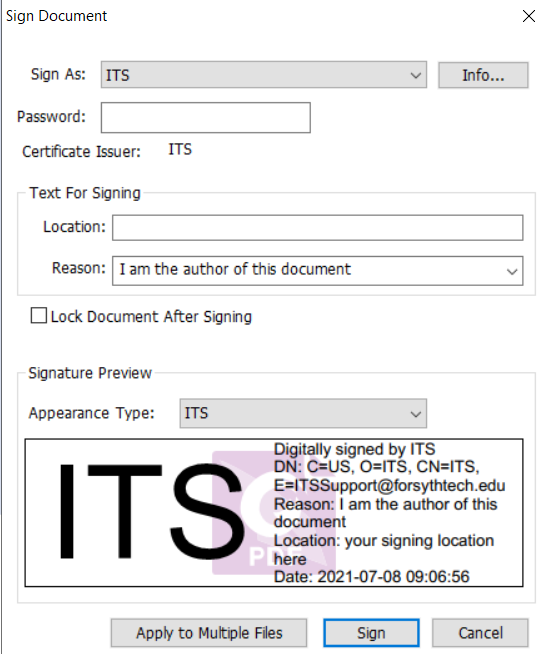
Click Sign.
You will be prompted that you must now sign the document, click OK.
Click on Sign & Verify again and select Sign Document.
You will be prompted to save the file again, name the file as desired and click Save.

You now have a digital signature.